
Last updated November 18, 2026








Free written scope consultation - allowances, timeline, and change-order rules on paper before a single trade is scheduled
Home Remodeling Troubleshooting: Common Problems and How to Fix Them
A door that sticks after a remodel is almost never about the door. It’s about the framing behind it, the humidity in the room, or the floor finish that’s just thick enough to change the clearance. And a troubleshooting guide that starts with “sand the door” is sending you in the wrong direction.
After enough projects across Spring Valley, we’ve noticed that nearly every post-remodel problem lands in one of three buckets: installation errors, material failures, or homeowner-maintenance gaps. The bucket tells you who to call and how fast. This guide walks through the symptom-to-cause map we use, the documentation protocol that gets a faster response from any contractor, and which issues are genuinely urgent versus which can wait. You’ll finish knowing exactly what to do the next time something looks off.
Quick Answer
Most post-remodel problems come from one of three causes: an installation error (the contractor’s responsibility, usually covered by a workmanship warranty), a material failure (the manufacturer’s responsibility), or a maintenance gap (yours to handle). Active water intrusion and any electrical symptom are same-week calls. Cosmetic issues like a paint bubble or hairline crack can be photographed and reported before your warranty expires. Matching the symptom to the right category saves you time, money, and a frustrating phone call.
Styles & brands we work with
- Kitchen remodeling
- Bathroom remodeling
- Home additions & ADU
- Roofing
- Windows & doors
- Driveway & pavers
- Fence
Table of Contents
- The Three Buckets: Installation, Material, Maintenance
- Why Doors Stick After a Remodel (And What It Actually Means)
- Drywall Cracks at Corners: Normal Settling vs. Structural Movement
- Grout Gaps at Floor-Wall Transitions: The Missing Expansion Joint
- Paint Peeling in Bathrooms: Ventilation or Wrong Sheen
- Time-Sensitive vs. Wait-and-See: Sorting Your Problem List
- Nevada-Specific Failure Modes You’ll Actually See in Spring Valley
- The Documentation Protocol: How to Report a Problem Properly
- Workmanship vs. Manufacturer vs. Normal Wear
The Three Buckets: Installation, Material, Maintenance
Before you reach for a tool, ask one question: is this problem about how something was put in, about the product itself, or about how the home has been used since? Each answer points to a different fix and a different person to call.
Installation errors show up as misalignment, gaps, uneven surfaces, or things that worked for a few weeks and then didn’t. A tile that’s loose at one corner. A cabinet door that rubs the frame. A shower that puddles toward the wrong side. These fall to the contractor who did the work, and a written workmanship warranty should cover them.
Material failures look like the product itself giving out: a faucet cartridge that drips after a few months, a cabinet finish that bubbles, a countertop seam that opens. Those belong to the manufacturer, and the brand matters. This is why we name our partners – cabinets from KraftMaid and Wellborn, countertops from Cambria and Silestone, fixtures from Kohler, Moen, and Grohe, exteriors from James Hardie – because when a homeowner can look up the warranty in their own name, the fix doesn’t depend on anyone’s goodwill.
Maintenance gaps are the ones no one warns you about. Caulk shrinks. Grout needs sealing. A bath fan filter clogs. These are yours to handle, and they’re the bulk of what gets reported as “the remodel failed” when really the calendar just moved forward.
Why Doors Stick After a Remodel (And What It Actually Means)
A door that swings fine at handover and grabs the frame two months later is a message about the house, not the door. In Spring Valley, where indoor humidity swings through the summer monsoon and drops hard in winter, wood moves. So does the framing behind the drywall.
Here’s how we walk through the causes, in order:
- Paint thickness at the strike side. If the door was painted in place, three coats on the jamb can add enough buildup to change clearance. Check for a shiny rub mark where the door meets the stop.
- Humidity in the room. A door into a bathroom or laundry without a working exhaust fan will swell through summer. Run the fan for twenty minutes after every shower and watch whether the problem eases.
- Hinge type and screw tightness. Standard hinges on a hollow-core door can sag. A single loose top screw can drop the latch side by a sixteenth of an inch, which is all it takes.
- New flooring undercut. If the remodel added tile or luxury vinyl, the door may need to be trimmed at the bottom because the finished floor rose.
- Settlement. The one nobody wants to hear. If the door frame is out of square by more than a quarter inch, the cause may be under the floor, and sanding is just hiding it.
Sand only after you know which one you’re dealing with. If it’s an installation issue or a settlement concern, that’s a warranty conversation, not a Saturday project. When the whole-home scope behind those doors was ours, you’ll find that context on our Elmstead Remodeling Spring Valley home page.
Drywall Cracks at Corners: Normal Settling vs. Structural Movement
Hairline cracks at drywall corners appear in nearly every home within the first year after new framing or significant patching. Most are normal. A few aren’t, and the difference is in the shape and the direction the crack travels.
Normal settling cracks share these traits:
- Hairline width, less than the thickness of a dime
- Diagonal at outside corners of windows or doors
- Appear within the first six to twelve months after the work
- Stop growing after about a season
Cracks that deserve a closer look:
- Wider than an eighth of an inch
- Horizontal or vertical in the middle of a wall, not at a corner
- Accompanied by a door or window that no longer latches
- Recurring in exactly the same spot after being patched twice
Spring Valley sits on soils that shift with our wet-dry cycle, and homes built on clay-heavy lots will show more settling than homes on the east bench. That’s context we account for when we plan finish work. If a crack is wide, moving, or paired with any door or window issue, treat it as an inspection item before you spackle over the evidence. If it’s a hairline at a corner in the first year, photograph it, note the date, and report it as part of your punch list.
Grout Gaps at Floor-Wall Transitions: The Missing Expansion Joint
A gap that opens where the tile floor meets the baseboard or wall is one of the most common post-remodel complaints we hear. In our experience, it usually comes down to one thing: grout where there should have been caulk.
Grout is rigid. Floors move, walls move, and the joint between them needs to flex. That’s why the transition at the perimeter should be a flexible sealant, not the same grout used across the field of the floor. When grout is used there, thermal movement in Spring Valley’s intense summer heat – and the seasonal subfloor flex of a wood-framed second floor – opens a crack within a few months.
Two common causes worth ruling out:
- Missing expansion joint. The perimeter should have a sealant bead that allows movement. If it’s grout, that’s an installation issue for your contractor.
- Subfloor flex. If the gap reappears within weeks of being sealed, the floor beneath the tile may not be stiff enough. In that case, sealing again will only postpone the next gap, and the fix is underneath.
For a small cosmetic gap in a low-traffic room, a quality siliconized caulk in a matching color will hold well and is a reasonable homeowner fix. For repeated gaps, or gaps in wet areas where water can get under the tile, call it in and let the contractor look at the substrate. That’s not a DIY job, and pretending it is can turn a small issue into a $2,000 one.
Paint Peeling in Bathrooms: Ventilation or Wrong Sheen
Peeling or blistering paint in a bathroom is almost always one of two things: the room isn’t removing moisture fast enough, or the wrong paint was chosen for the surface. Both look the same in the early stage, and both fail faster in a home with a family of four taking back-to-back showers.
Ventilation. A bath fan needs to actually move air. Many builder-grade fans run at 50 CFM, and a room of typical size needs closer to 80 to 110. If paint peels above the shower first, and the mirror stays fogged for ten minutes after you leave, the fan is the issue.
Sheen. Bathroom walls and ceilings should wear a satin or semigloss paint with a mold-resistant additive. Flat paint in a wet room absorbs moisture at the surface and releases it slowly, and the tension at the paint-drywall bond causes peeling. This is a specification issue, and if the contractor chose flat paint for a shower area, that’s a fair conversation.
What to check next. Run the fan for twenty minutes after every shower for a week. If the paint still peels, check the fan’s rating on the housing label. If the fan is adequate and the paint is still failing, we recommend a proper moisture-tolerant repaint with a primer designed for wet rooms, or a full review of the exhaust duct routing. A bath fan that’s ducted into the attic instead of to the outside will look fine and do nothing. That’s the number-one exhaust mistake we find in Spring Valley homes.
Time-Sensitive vs. Wait-and-See: Sorting Your Problem List
Not every problem deserves a weekend phone call. Some deserve one in the next hour. Here’s how we sort them, and it’s worth writing down and taping inside a cabinet.
Same-week call, no hesitation:
- Any water where water shouldn’t be: under a sink, behind a toilet, at a shower base, in a ceiling
- Any electrical symptom: a warm outlet cover, a breaker that trips twice in a week, a light that flickers only on one circuit
- A gas smell, or a stove hood that smells of gas when off
- Loose tile in a shower with visible water behind it
- A crack you could slide a credit card into
Document now, report before your warranty expires:
- Hairline drywall cracks at corners
- A paint bubble or peel in a bathroom
- A grout gap in a dry area
- A cabinet door that rubs, or a drawer that won’t close flush
- A nail pop in drywall
For that second list, the timing matters more than the urgency. Photograph everything, note the date you first saw it, and report it well before day 365. This is exactly the scenario the 365-Day Done Right Promise exists for – if something on our work isn’t right, we make it right, and the promise runs a full year after we’ve handed the house back. A cosmetic paint bubble in month eleven is a warranty item. The same bubble in month thirteen is a repaint you’re paying for.
Nevada-Specific Failure Modes You’ll Actually See in Spring Valley
Some problems are ours. Southern Nevada’s climate hands us three patterns that any remodeled home here runs into eventually, and they aren’t the ones you’d guess.
Efflorescence on exterior stucco repairs. If a patched stucco area develops a white, powdery bloom, moisture is moving through the wall and leaving mineral salts on the surface. It’s not a stain and it won’t wash off permanently. It’s a sign the wall needs to dry differently, and a re-patch without addressing drainage or vapor movement will bloom again.
Thermal-crack patterns at south-facing windows. Caulk at a window on the south face of a Spring Valley home takes direct sun most of the day. Interior caulk will crack in a neat, regular pattern within a couple of seasons because the frame and the wall expand at different rates in our heat. The fix is an exterior-grade elastomeric sealant, not more interior latex. This is a product choice, so it belongs to whoever specified the sealant.
Hard-water mineral buildup at new fixtures. Spring Valley’s water runs hard, and a newly installed Kohler or Moen fixture will show white spotting on the aerator and showerhead faster than the homeowner expects. This isn’t a defect. It’s a maintenance rhythm: soak the removable parts in white vinegar monthly, and the finish and flow hold up for years.
If your exterior scope included pavers or fencing, Belgard and Bufftech make products whose finishes hold up better in our UV load than generic substitutes – worth knowing when the failure mode shows up in year three instead of year one.
The Documentation Protocol: How to Report a Problem Properly
The single biggest thing you can do to get a fast, productive response from any contractor is to send a report they can act on without a site visit first. Turn a vague complaint into a structured ticket.
- Photograph wide to close. One wide shot of the room with something recognizable in the frame. One medium shot of the issue in context. One close-up with a coin or ruler laid against the problem so scale is unmistakable. If it’s a crack, photograph the full length, then a coin next to the widest point.
- Write down four facts. Product name and manufacturer as printed on the label, the installation or completion date, the date you first observed the problem, and whether it has gotten worse. If you can see growth, take the same photo from the same angle a week apart and note the difference.
- Describe what you were doing when it appeared. “I noticed it after a shower” or “it was there when I got home” tells a contractor something. “It’s just bad” doesn’t.
- State what you’re asking for. Inspection? Warranty repair? Manufacturer claim help? Being specific speeds up the response.
- Send it in one email with the photos attached, not in three texts and a phone call. A written trail protects you and helps the contractor route it to the right person.
The Cedarwell Care Promise includes a written price before work starts, and that written price often carries the scope and product names you’ll need for exactly this kind of report. Keep the paperwork in one folder. It’s the difference between a five-minute call and a two-week back-and-forth. For larger scope questions across a whole house, our General Contractor in Spring Valley page covers how the process and documentation work start to finish.
Workmanship vs. Manufacturer vs. Normal Wear
Here’s a plain-language version of the three categories that decide who pays for a fix. It’s the most useful thing on this page and the one most homeowners never get sorted out at handover.
Workmanship warranty covers how the work was done, not what product was used. If a tile came loose because the thinset wasn’t spread correctly, that’s workmanship. If a door sticks because the frame was set out of square, that’s workmanship. This is what a contractor’s own promise covers, and it should be in writing with a start and end date. At Elmstead Remodeling Spring Valley, that’s the 365-Day Done Right Promise, stamped on every project and running a full year after completion.
Manufacturer warranty covers the product itself. A Kohler faucet with a bad cartridge, a Cambria countertop with a surface defect, a Moen valve that won’t seal – those go to the manufacturer, usually with the contractor’s help to submit the claim. Named brands matter here because the warranty often lives in the homeowner’s name once the receipt is filed. That’s why we can hand a family a folder of product warranties and let them verify every one independently.
Normal wear covers everything else. Sealing grout every year or two. Recaulking a shower. Touching up paint in high-traffic spots. Cleaning mineral deposits. It’s not glamorous, but it’s the category that keeps the first two from ever being needed. Build it into your calendar the same way you build in changing the furnace filter. If any of these categories get fuzzy, our Bathroom Remodeling in Spring Valley page walks through what our written warranty covers in a wet room specifically.
Common Mistakes to Avoid
- Fixing the symptom before you know the cause. Sanding a sticking door without checking the frame is the classic example. You’ll sand again in six months, three times, and then realize the hinge plate needed shimming all along.
- Using the wrong sealant where the house needs flex. Interior latex caulk at a south-facing window in Spring Valley will crack in a season or two. The exterior elastomeric sealant costs a few dollars more and holds for years.
- Reporting a problem after the warranty expires. If you’ve noticed a hairline crack but haven’t documented it, the date you “first observed” it is worthless. Photograph and send it the same week. Month eleven is a great time for a walk-through, and a terrible time to remember you saw the crack in month four.
- Repainting a failing surface without fixing the moisture. A bathroom ceiling that peels will peel again unless the fan or duct routing changes. Paint is the cheapest step and the one that comes last.
- Treating a manufacturer issue as a contractor issue, or the reverse. A dripping cartridge isn’t a workmanship failure, and a badly set tile isn’t a manufacturer defect. Knowing which one you have is a five-minute conversation with your contractor and saves two weeks of frustration.
- Ignoring a grout gap in a shower for months. Water behind tile in a wet area is one of the few small problems on this list that gets expensive fast. Fill it in weeks, not seasons, and have it inspected if it keeps reopening.
- Moving items in a remodeled room before the paperwork is filed. Keep every receipt, care sheet, and product label in one folder. When a warranty claim comes up in year two, you’ll be glad.
See the difference
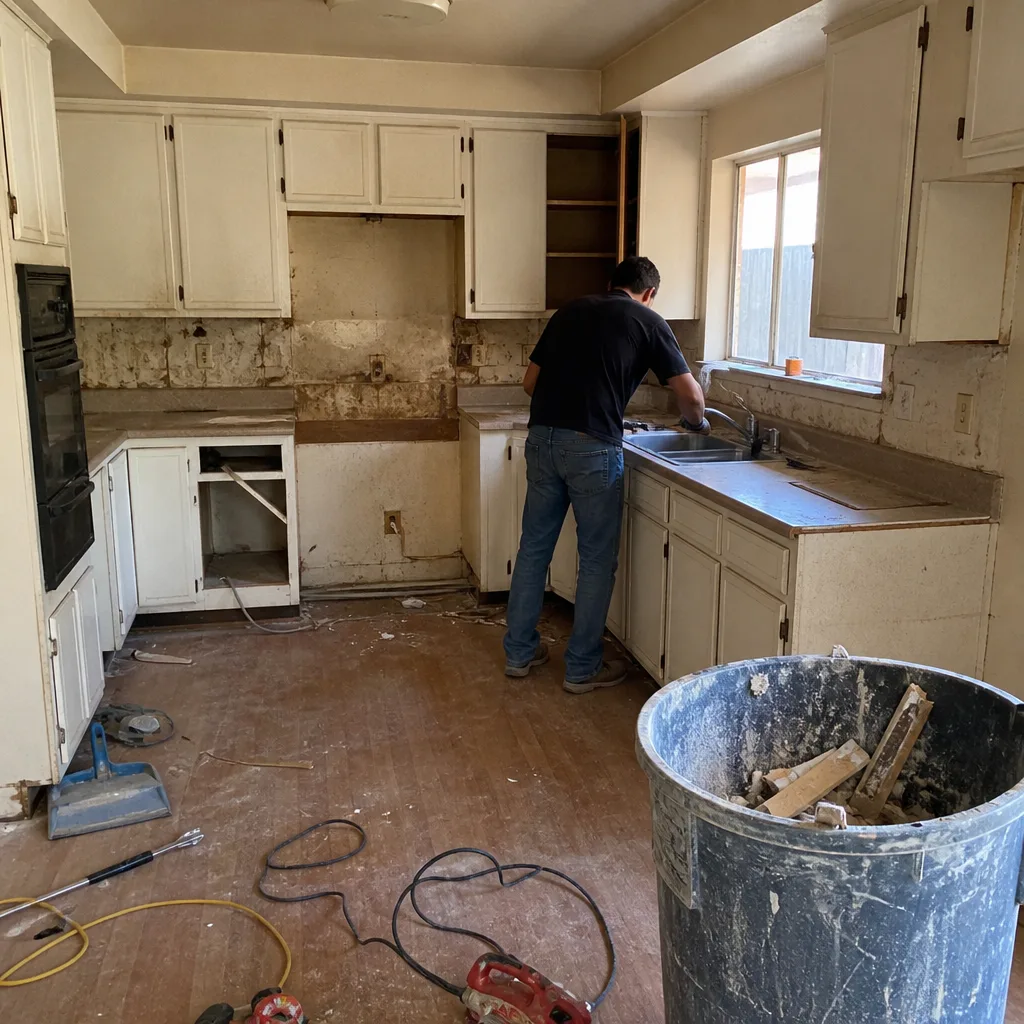 Before
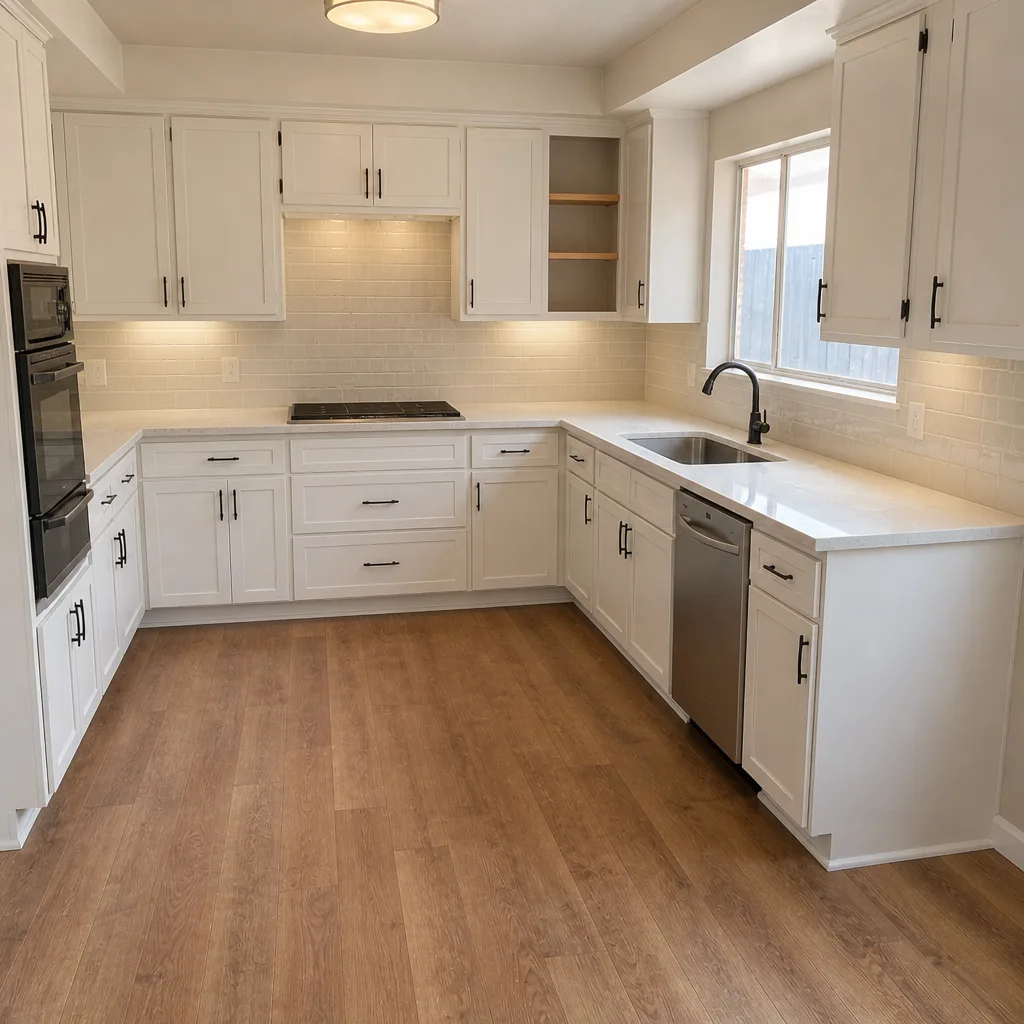 After
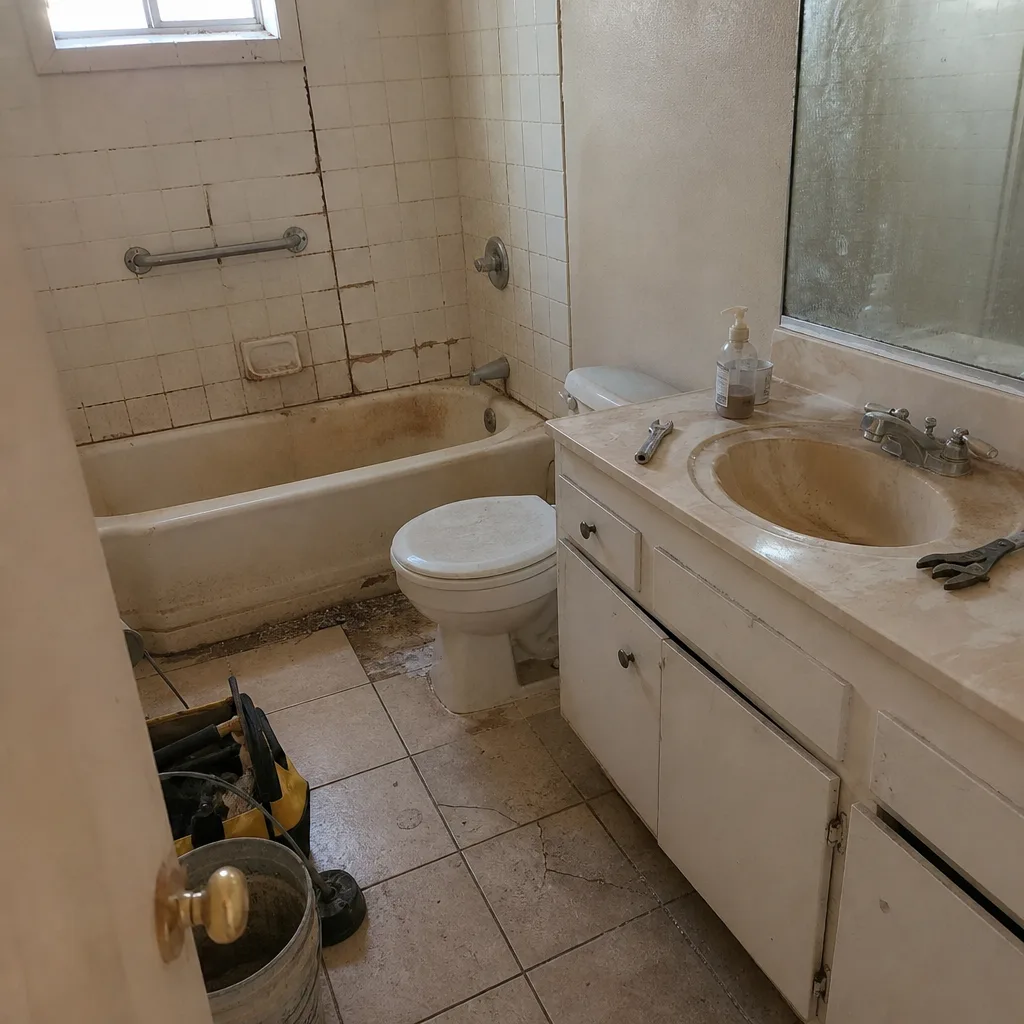 Before
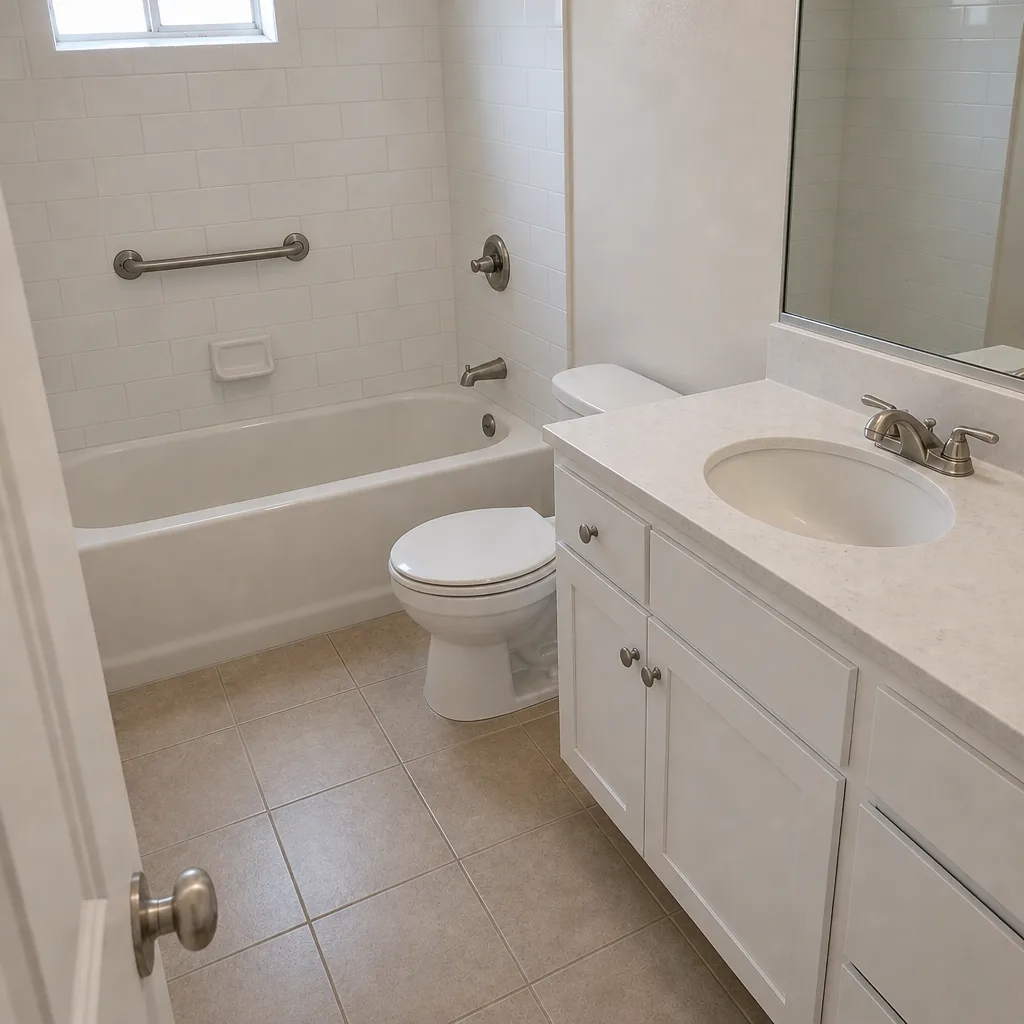 After
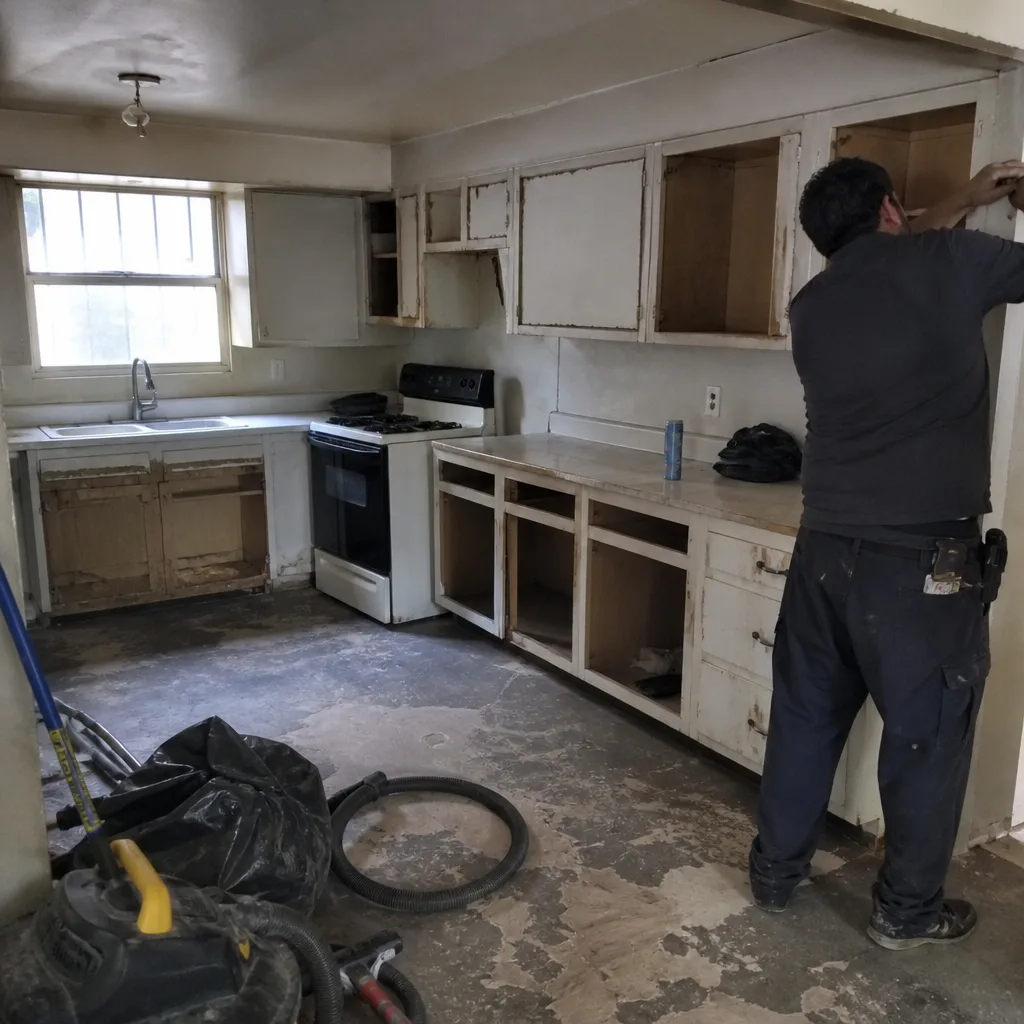 Before
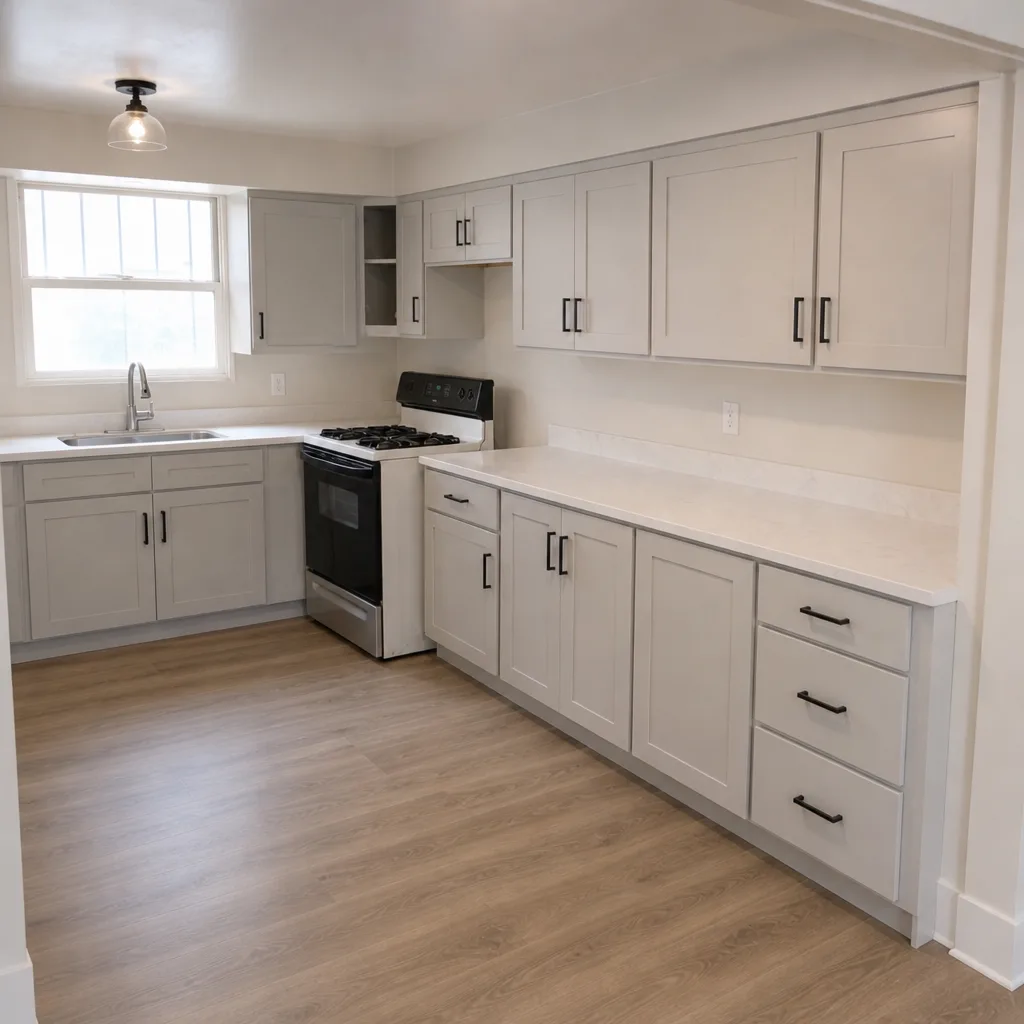 After
When to Call a Professional
Call us the same week if you see water where it shouldn’t be, smell gas, or notice any electrical symptom – a warm outlet cover, a breaker that trips twice, a flickering light tied to one circuit alone. Call a structural evaluation if a crack is wider than an eighth of an inch or grows week to week. For anything on the cosmetic list – a paint bubble, a hairline crack, a grout gap – document it and report it within your workmanship window rather than fixing it yourself. And if the fix would pull back a shower wall, cut into a ceiling, or change any framing, that’s a professional scope, not a weekend job.
Our technicians have up to 21 years of experience, and we answer the phone as a live person around the clock. Elmstead Remodeling Spring Valley offers free estimates in Spring Valley – call (844) 320-4882 to schedule yours. We’ll look at the symptom, tell you which bucket it’s in, and put the fix in writing before any work starts.
Frequently Asked Questions
Sticking doors after a remodel usually come from paint buildup on the jamb, humidity swelling the wood, a loose hinge, or new flooring that changed the door’s clearance. Less often, it’s settlement of the framing. Check the rub marks first, then humidity, then hinges. If the frame is out of square by more than a quarter inch, that’s a contractor conversation, not a sanding job. Call (844) 320-4882 for an inspection – estimates are free.
Hairline cracks at corners in the first six to twelve months are normal settling and rarely indicate anything structural. Cracks wider than an eighth of an inch, horizontal or vertical in the middle of a wall, or paired with a door that no longer latches deserve a professional look. Spring Valley’s clay soils cause more settling than many other areas, so a small corner crack here is common – a wide one isn’t. Call us for an evaluation if you’re unsure.
Grout gaps at the floor-to-wall transition come from using rigid grout where the joint needs to flex. The perimeter should have a flexible sealant, not grout, and if the gap keeps reopening after sealing, the subfloor may not be stiff enough. If it’s in a wet area, don’t wait – water behind tile gets expensive. Call (844) 320-4882 for a free estimate.
Bathroom paint peeling almost always means the room isn’t moving moisture out fast enough, or the wrong sheen was applied. Flat paint in a wet room absorbs moisture and peels, and a fan rated below 80 CFM in a full bathroom won’t keep up with family use. Run the fan twenty minutes after showers and check the rating on the housing. If the paint still fails, call us for a free look at the exhaust and finish spec.
Repairs covered by a workmanship warranty cost you nothing, which is the whole point of a written 365-day promise. Out-of-warranty fixes in Spring Valley typically run $150 to $400 for a small repair like recaulking a shower or patching drywall, and $500 to $1,800 if a shower wall needs to be opened up. A manufacturer warranty claim on a fixture is usually free but dependent on the brand’s terms. Call (844) 320-4882 to schedule a free estimate before you assume it’s out of pocket.
Send one email with three photos – wide, medium, and close-up with a coin for scale – plus the product name, installation date, first-observed date, and whether the problem is growing. State clearly whether you want an inspection, a warranty repair, or manufacturer help. A written report keeps the timeline clear for everyone. If you’re not sure how to frame it, call (844) 320-4882 and our team will walk you through what to gather.
The Bottom Line
Post-remodel problems aren’t random. They land in three buckets – installation, material, or maintenance – and the bucket tells you who to call and how soon. Match the symptom to the cause before you touch a tool: check the framing before you sand the door, check the fan before you repaint, check for an expansion joint before you re-grout. Then document like a professional: photos from wide to close, four facts, one email. Report cosmetic items before your warranty window closes, and treat active water and electrical symptoms as same-week calls. Do that, and the home holds up the way it should. And whenever the next problem doesn’t fit a category, keep our number where you can find it.
For a whole-home scope, our Kitchen Remodeling in Spring Valley and General Contractor in Spring Valley pages show how we plan finishes, materials, and documentation before the first drop cloth goes down. When a problem needs eyes on it, call Elmstead Remodeling Spring Valley at (844) 320-4882 for a free estimate. We’ll bring the shoe covers, the written price, and the calm.
Written by the team at Elmstead Remodeling Spring Valley.